如何在本地搭建一个简单dubbo项目
- zookooper下载
官网:
下载镜像
下载之后解压到无中文无特殊字符路径中:
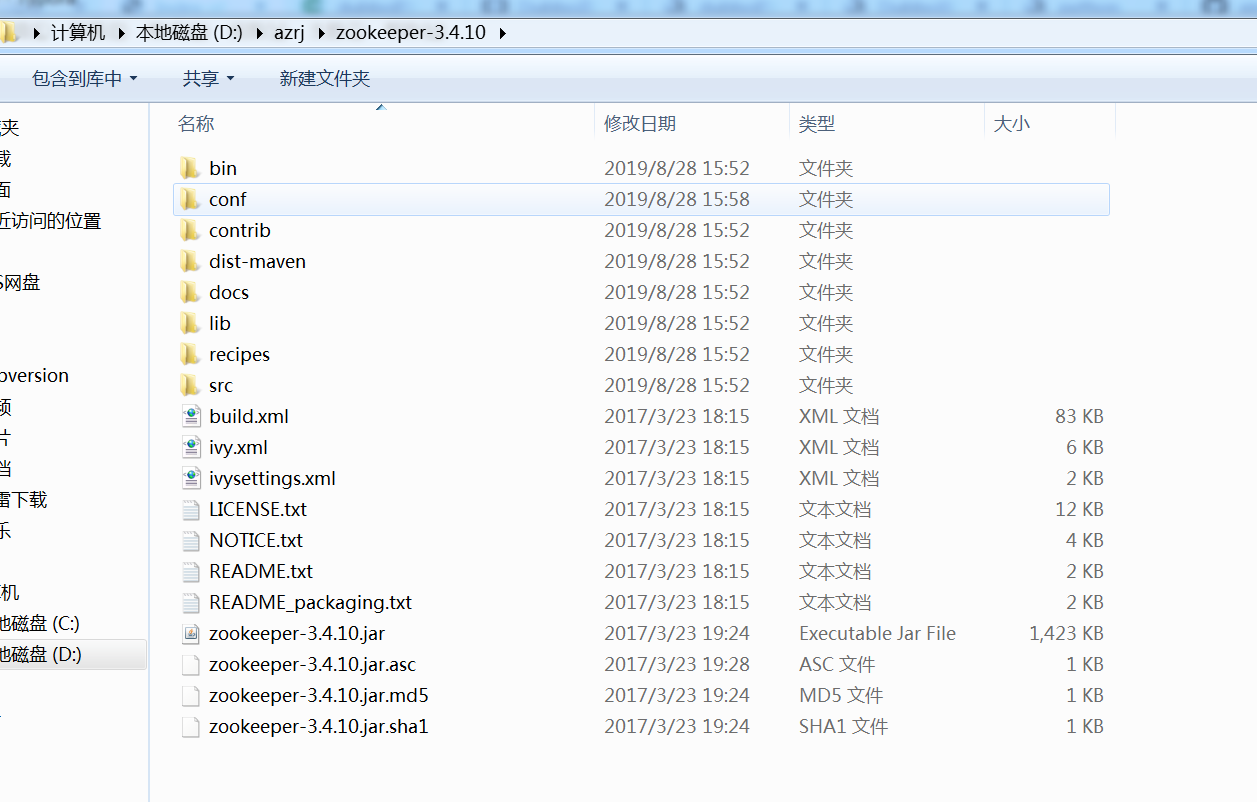
- 修改conf/zoo_sample.cfg 为 zoo.cfg
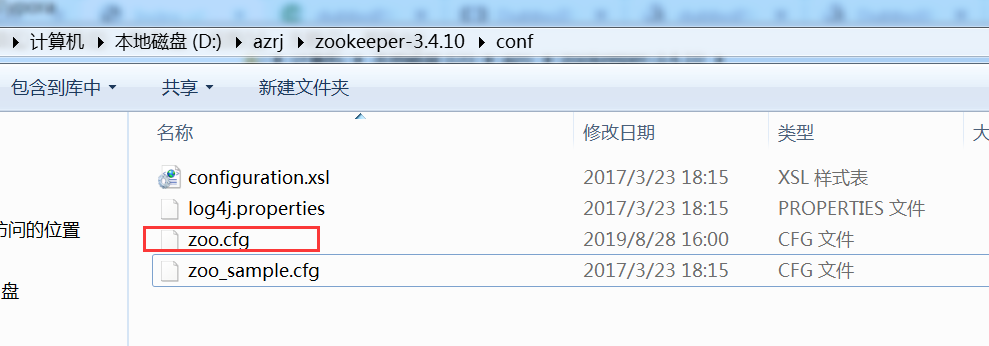
zoo.cfg内容如下:
# The number of milliseconds of each tick
tickTime=2000
# The number of ticks that the initial
# synchronization phase can take
initLimit=10
# The number of ticks that can pass between
# sending a request and getting an acknowledgement
syncLimit=5
# the directory where the snapshot is stored.
# do not use /tmp for storage, /tmp here is just
# example sakes.
dataDir=D:\\09tmp\\zookeeper
# the port at which the clients will connect
clientPort=2181
- 启动zookeeper
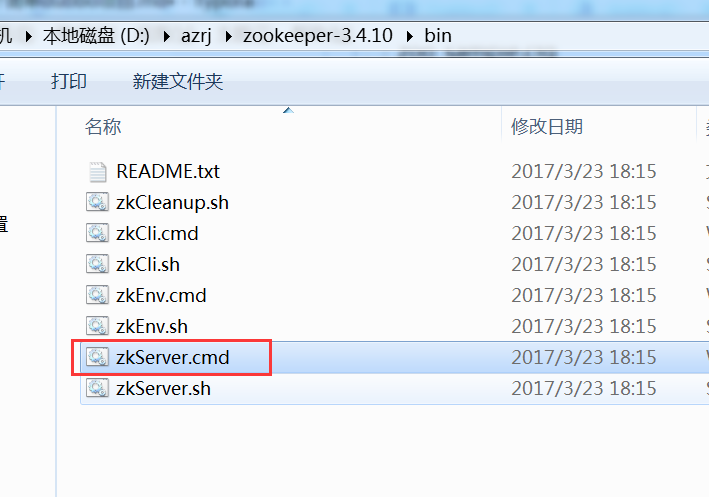
双击bin/zkServer.cmd
- dubbo服务提供者代码编写,启动类、接口类、接口实现类。
//启动类
public class Application {
    public static void main(String[] args) throws Exception {
        ServiceConfig<DemoServiceImpl> service = new ServiceConfig<>();
        service.setApplication(new ApplicationConfig("dubbo-demo-api-provider"));
        service.setRegistry(new RegistryConfig("zookeeper://127.0.0.1:2181"));
        service.setInterface(DemoService.class);
        service.setRef(new DemoServiceImpl());
        service.export();
        System.in.read();
    }
}
//服务接口类
public interface DemoService {

    String sayHello(String name);

    String show();

    String getName(String name);

}
//接口实现类
public class DemoServiceImpl implements DemoService {

    @Override
    public String sayHello(String name) {
        return "Hello " + name + ", response from provider: " + RpcContext.getContext().getLocalAddress();
    }

    @Override
    public String show() {
        return "show , response from provider: " + RpcContext.getContext().getLocalAddress();
    }

    @Override
    public String getName(String name) {
        return  name + ", response from provider: " + RpcContext.getContext().getLocalAddress();
    }

}
- 安装dubbo-admin.war,查看dubbo接口信息。
准备好dubbo-admin.war之后放到tomcat/webapp中
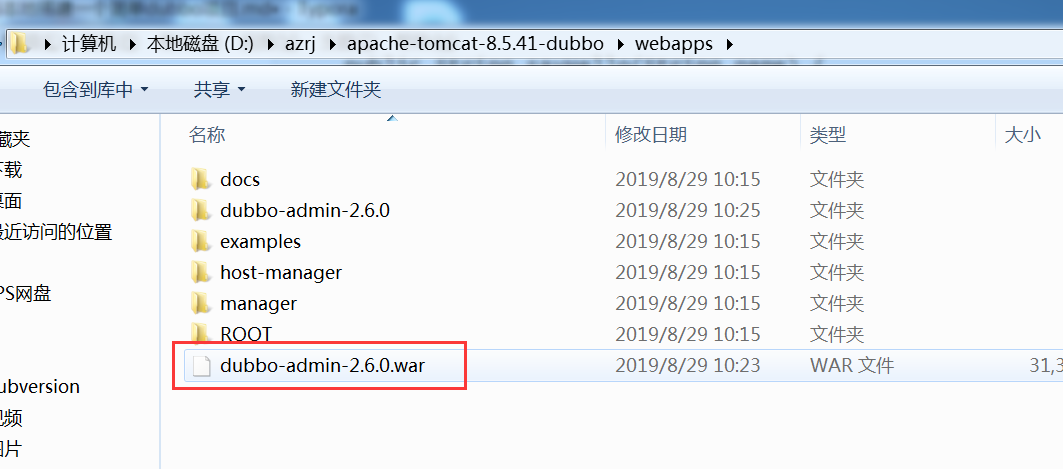
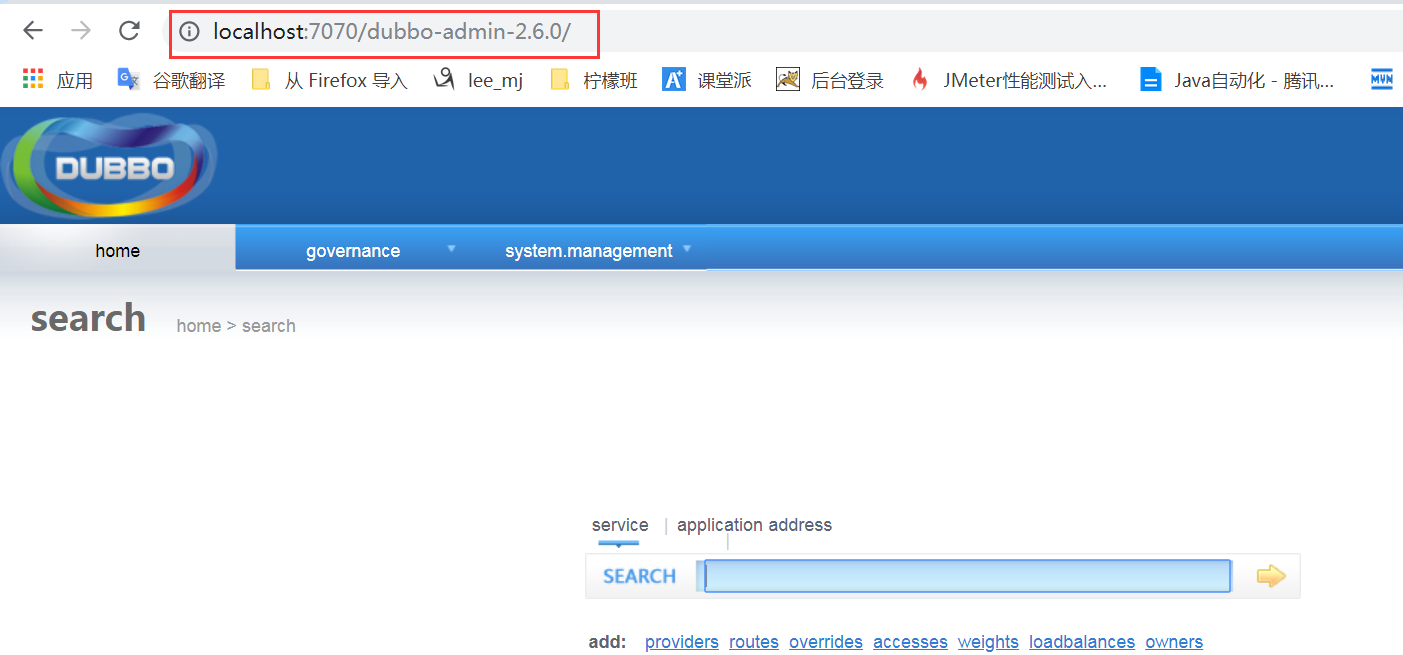
- 启动tomcat,输入tomcat对应端(本案例是7070,需要自己设定)口加上dubbo-admin-2.6.0项目名
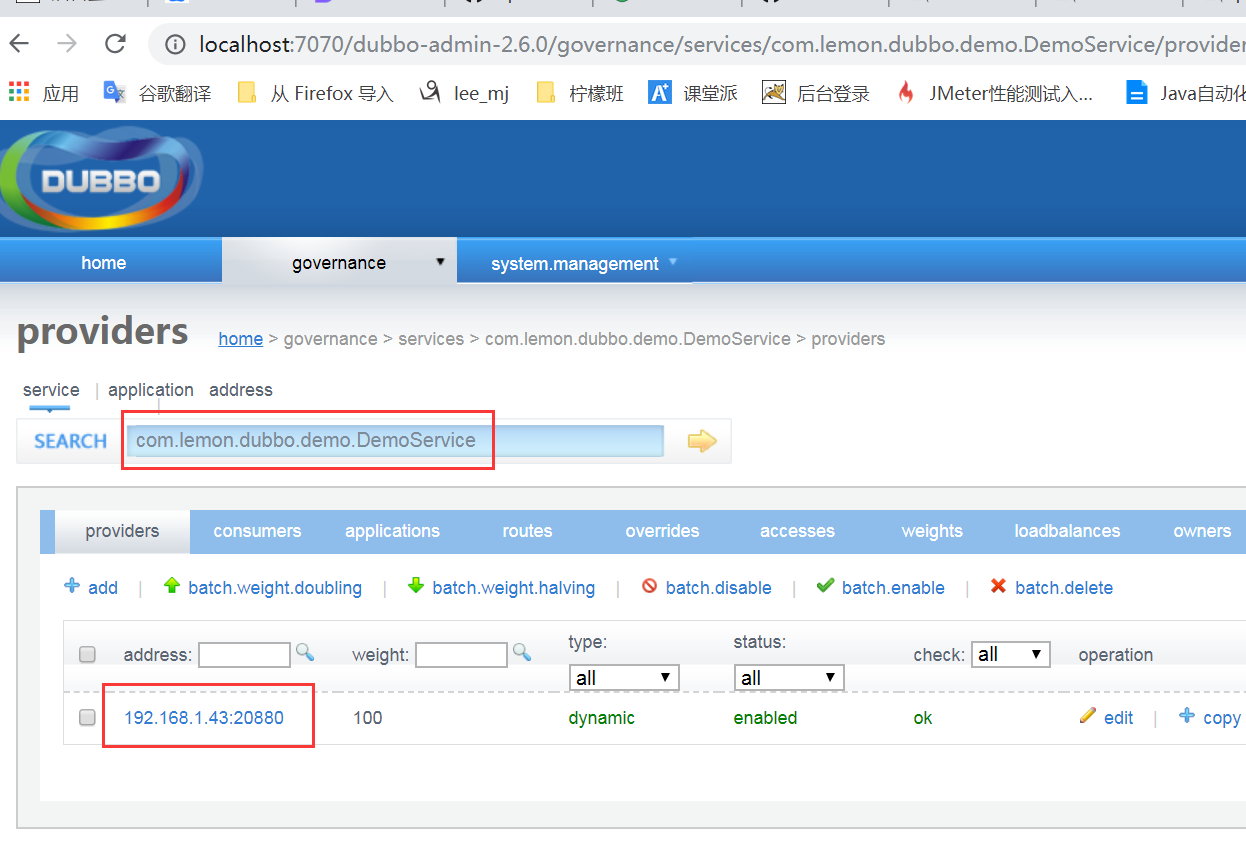
输入服务名称点击搜索按钮
点击IP地址查看详细信息
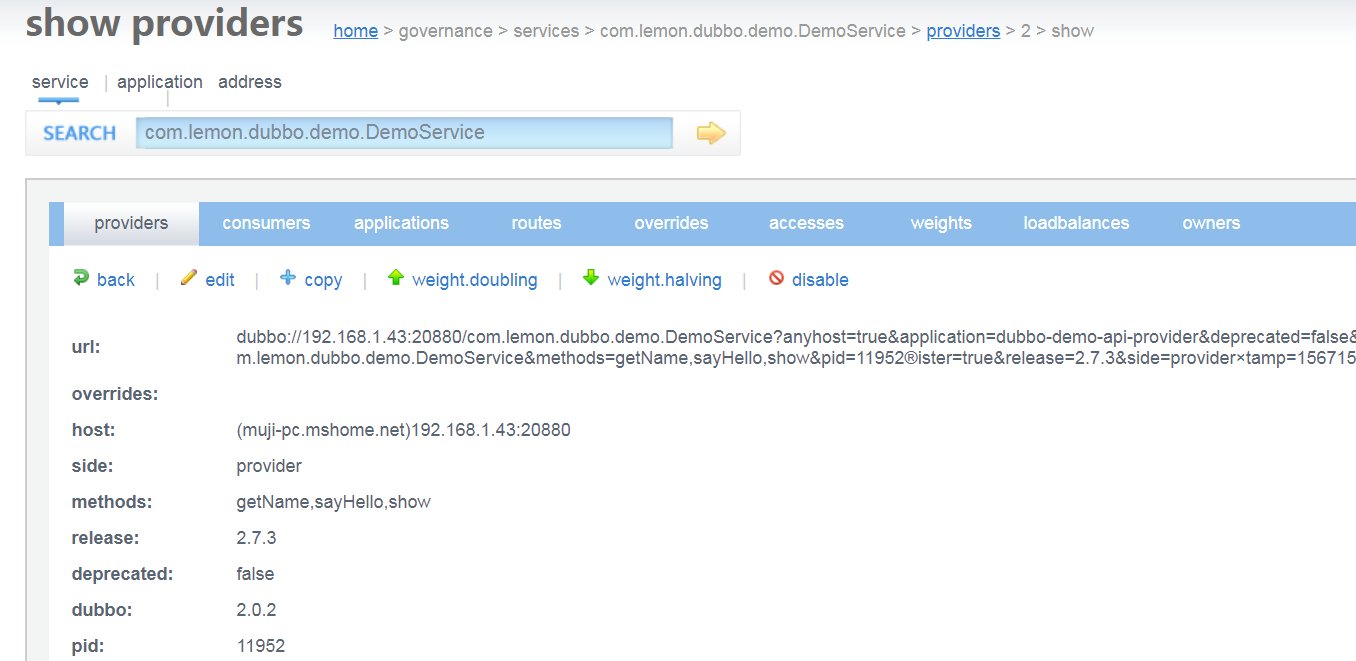
OK,这样咱们一个简单的dubbo服务提供者的环境就搭建完毕了。
欢迎来到testingpai.com!
注册 关于