目录
三者的作用
Telegraf+InfluxDB+Grafana的安装
三者的作用
Grafana: 前端展示收集到的数据
Influxdb: 时序型数据库,保存收集到的数据
Telegraf: 收集数据,保存到inflxdb数据库中
Influxdb—— 保存收集的数据
Inflxdb简介
InfluxDB是用Go语言编写的高性能、高可用的分布式时序数据存储数据库,无其他依赖,安装简单快速。
该数据库现在主要用于存储涉及大量的时间戳数据,如DevOps监控数据,APP metrics, loT传感器数据和实时分析数据。
InfluxDB特征:
- 无结构(无模式):可以是任意数量的列
- 可以设置metric的保存时间
- 支持与时间有关的相关函数(如min、max、sum、count、mean、median等),方便统计
- 支持存储策略:可以用于数据的删改。(influxDB没有提供数据的删除与修改方法)
- 支持连续查询:是数据库中自动定时启动的一组语句,和存储策略搭配可以降低InfluxDB的系统占用量。
- 原生的HTTP支持,内置HTTP API
- 支持类似sql语法select * from mysql.user
- 支持设置数据在集群中的副本数
- 支持定期采样数据,写入另外的measurement,方便分粒度存储数据。
schemaless: 结构型数据库类似Mysql需要先定义列,influxdb无需预先定义,无结构的
与传统数据库中的名词比较
| influxDB中的名词 | 传统数据库的概念 |
|---|---|
| database | 数据库 |
| measurement | 数据库中的表 |
| points | 表里面的一行数据 |
influxdb的points数据说明
- time:默认存储数据会有时间,时间无需关心,会帮我们自动插入
- tags:用来存储数据标识,比如CPU.idle
- fileds:用来存储数据 value=90
Influxdb下载安装
下载:
[root@jmeter ~]#wget https://dl.influxdata.com/influxdb/releases/influxdb-1.7.0.x86_64.rpm --no-check-certificate
百度网盘下载地址:https://pan.baidu.com/s/13hKY22krYSLTs9_A2O7KVA
提取码:sc9z
安装
[root@jmeter opt]# rpm -ivh influxdb-1.7.0.x86_64.rpm
Preparing... ########################################### [100%]
1:influxdb ########################################### [100%]
安装完之后,生成默认的配置文件 /etc/influxdb/influxdb.conf
修改influxDB配置文件
在配置文件中找到graphite配置项,去掉前面的“#”号
[root@jmeter opt]# vim /etc/influxdb/influxdb.conf
修改以下信息
[meta]
dir = "/usr/local/influxdb/meta" #存放最终存储的数据,文件以.tsm结尾
[data]
dir = "/usr/local/influxdb/data" #存放数据库元数据 wal
wal-dir = "/usr/local/influxdb/wal" #存放预写日志文件
修改HTTP端口信息
[http]
Determines whether HTTP endpoint is enabled.
enabled = true
The bind address used by the HTTP service.
bind-address = ":8086"
创建目录更新权限
[root@jmeter ~]#mkdir -p /usr/local/influxdb/
[root@jmeter ~]#chown -R influxdb:influxdb /usr/local/influxdb/
修改完成之后,可以使用以下命令启动influxDB服务
两种方法:
- [root@jmeter ~]# influxd -config /etc/influxdb/influxdb.conf

- 添加到环境变量中(推荐)
[root@jmeter ~]# vim /etc/profile
export INFLUXDB_CONFIG_PATH=/etc/influxdb/influxdb.conf
[root@jmeter ~]# source /etc/profile
[root@jmeter ~]# influxd &
influxDB的tcp端口:8088
查看端口有没有起来
[root@jmeter ~]# netstat -anp|grep 8088
tcp 0 0 127.0.0.1:8088 0.0.0.0:* LISTEN 22882/influxd
看到如上信息说明inflxdb已经启动成功了
[root@jmeter ~]# influx # 登录数据库
查看数据库:show databases
创建数据库:create database "telegraf"
切换数据库:use telegraf
创建管理员权限的用户:create user "admin" with password '123456' with all privileges
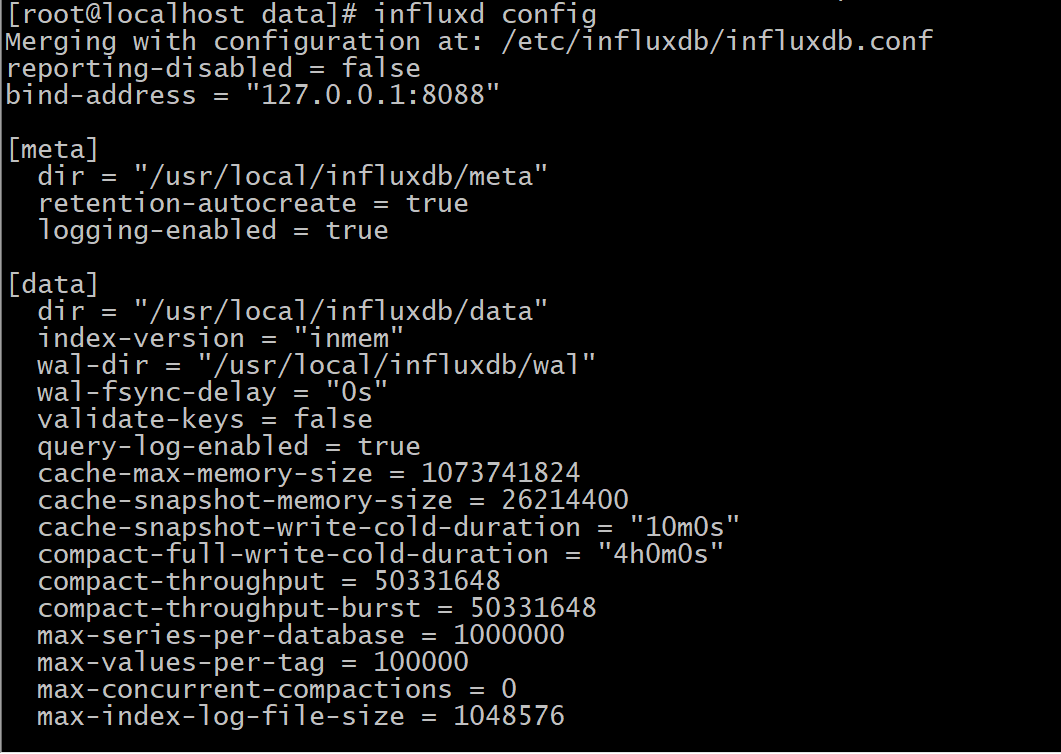
查看inflxdb的配置
Telegraf——收集数据
简介
Telegraf是用Go语言编写的代理程序,可采集系统和服务的统计数据,并写入InfluxDB数据库。Telegraf具有内存占用小的特点,通过插件系统开发人员可轻松添加支持其他服务的扩展。目前,最新版Telegraf支持的插件主要有:
- Apache
- DNS query time
- Docker
- http Listener
- MySQL
- Network Response
- Tomcat
- Zookeeper
- TCP Listener
目前Telegraf尚不支持Oracle数据库统计数据的实时监控。
Telegraf安装
Telegraf需要安装在被监控的服务器上面
下载方式:
下载地址:https://portal.influxdata.com/downloads/
在服务器某个目录直接输入如下命令:
wget https://dl.influxdata.com/telegraf/releases/telegraf-1.15.2-1.x86_64.rpm
命令安装安装:
[root@localhost data]# rpm -ivh telegraf-1.15.2-1.x86_64.rpm
Verifying... ################################# [100%]
Preparing... ################################# [100%]
Updating / installing...
1:telegraf-1.15.2-1 ################################# [100%]
Created symlink /etc/systemd/system/multi-user.target.wants/telegraf.service → /usr/lib/systemd/system/telegraf.service.
配置telegraf:
[root@localhost data]# vim /etc/telegraf/telegraf.conf
修改如下的信息,前面去掉“#”
连接inflxdb的地址和端口
urls = ["http://192.168.226.153:8086"]
数据库信息
database = "telegraf"
#Only takes effect when using HTTP.
write_consistency = "any"
Timeout for HTTP messages.
timeout = "5s"
HTTP Basic Auth
#用户名和密码
username = "admin"
password = "123456"
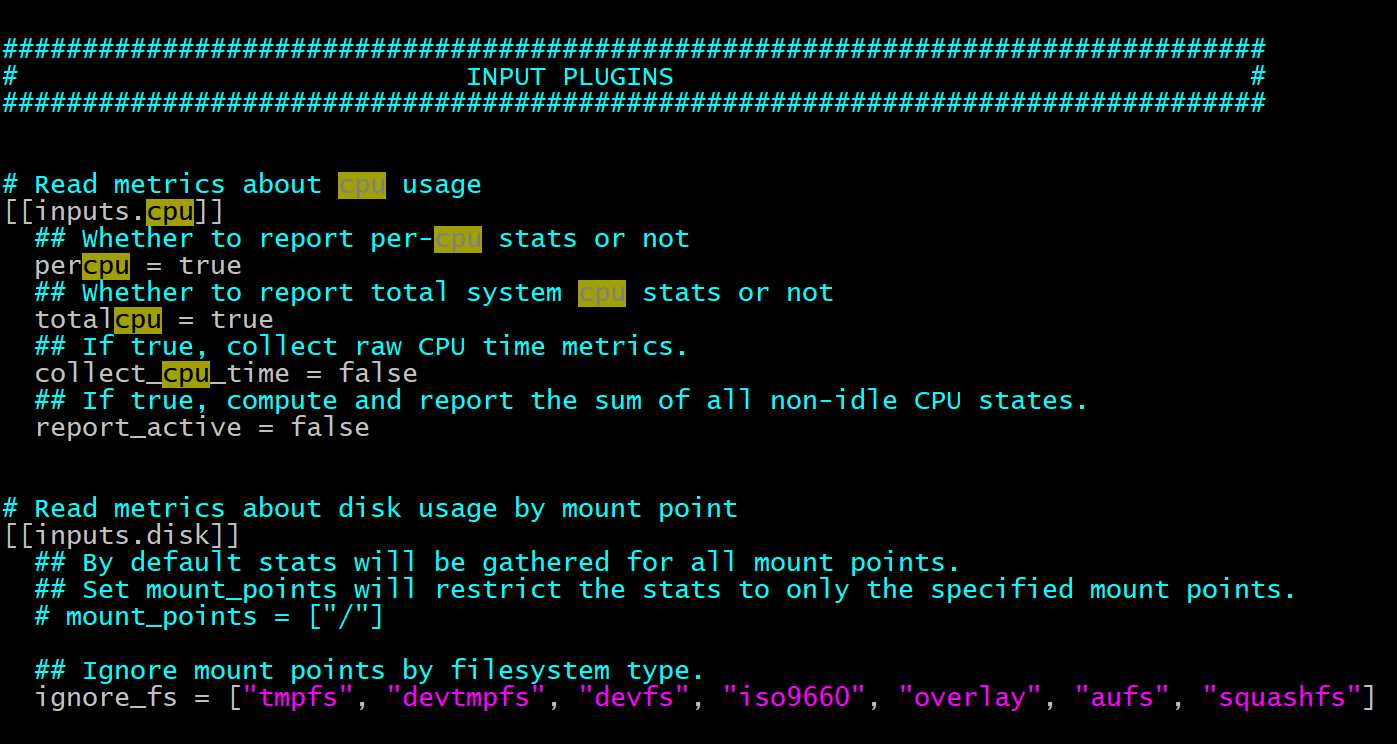
监控项的信息:
启动telegraf服务
[root@localhost data]# systemctl start telegraf.service
[root@localhost data]# service telegraf status
开机启动
[root@localhost data]# systemctl enable telegraf.service
Grafana和influxDB数据源配置
什么是Grafana
Grafana是一款可视化工具,大多使用在时序数据的监控方面,如同Kibana类似。Grafana的UI更加灵活,有丰富的插件,功能强大,数据源可以使用zabbix、influxdb等
grafana的下载和安装
官网:https://grafana.com/grafana/download
下载地址:wget https://s3-us-west-2.amazonaws.com/grafana-releases/release/grafana-5.2.1-1.x86_64.rpm
安装:rpm -ivh grafana-5.2.1-1.x86_64.rpm
启动grafana
[root@jmeter ~]# service grafana-server start
Starting Grafana Server: ... [ OK ]
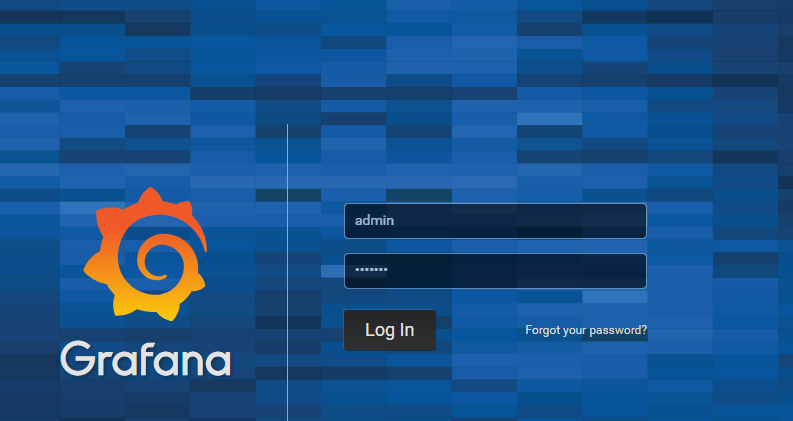
浏览器访问:http://IP:3000/login
grafana的默认用户名密码都是admin,第一次登录会要求更改密码
创建influxDB数据源
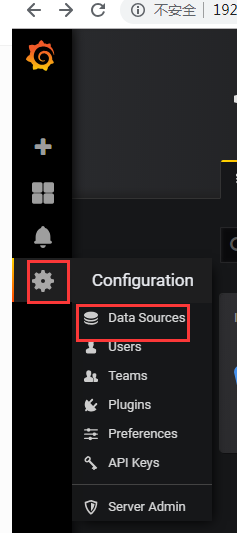

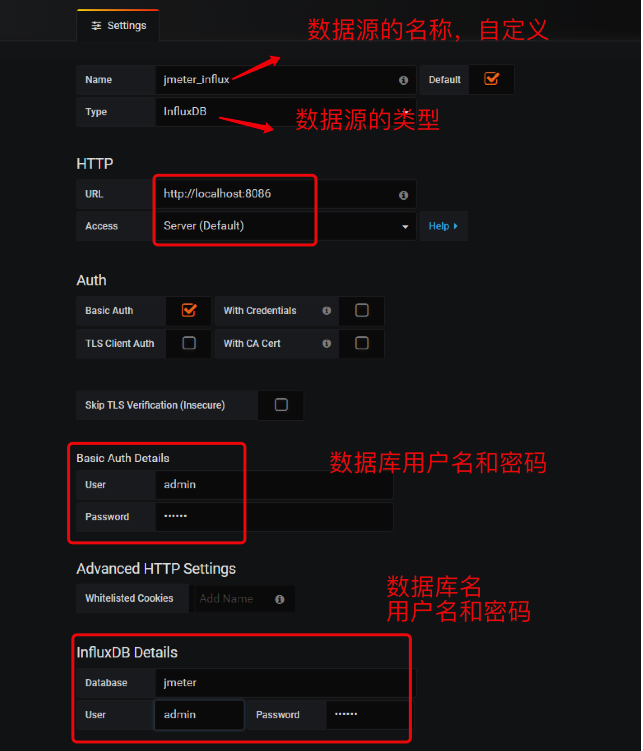
单击save & Test,提示:data source is working,说明保存和连接成功
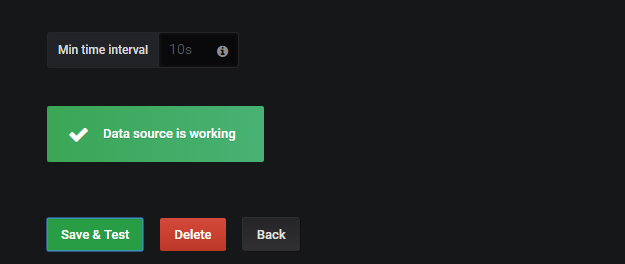
到此:inflxdb+Telegraf+grafana都安装完成了

欢迎来到testingpai.com!
注册 关于