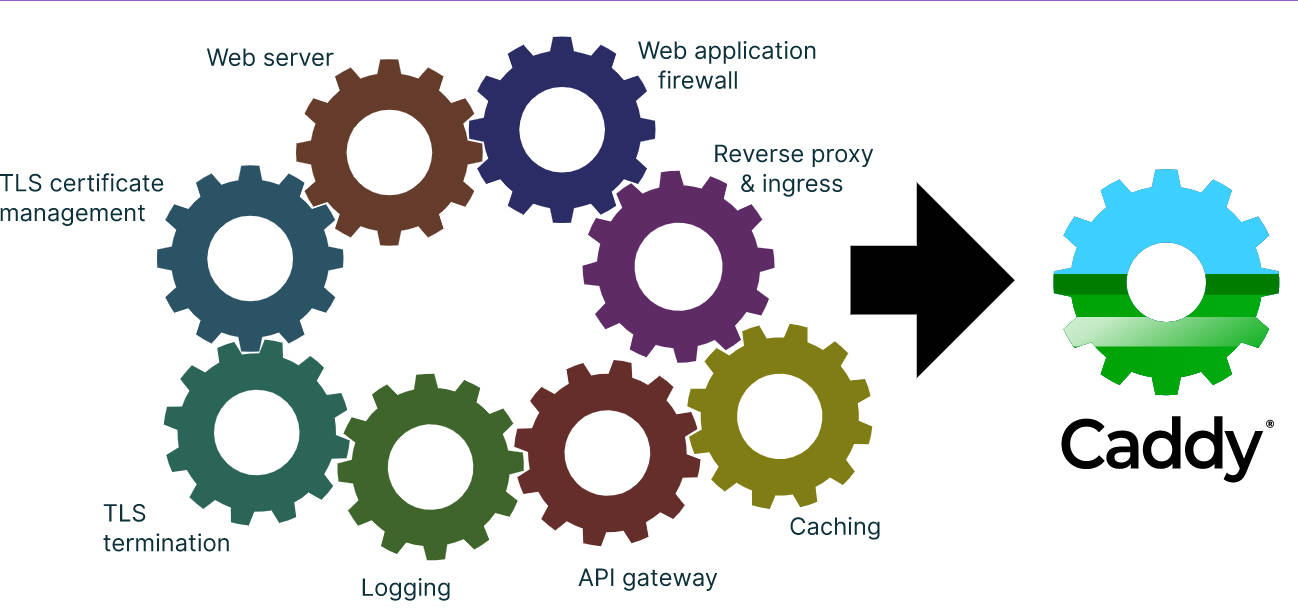
现如今,企业web服务器,可以说nginx,无人不知无人不晓,哪个不怕死的,要来替换nginx呢?——caddy。 长江后浪推前浪,作为IT行业人士,请不要大惊小怪,这是必然的,而且速度会很快,所以,我们必须不断学习,走在技术变革的前沿。
caddy是什么?
caddy是一个强大的、企业级、开放源代码的服务器,使用GO语言编写,可以自动实现https加密数据传输。

caddy的特点与优势?
- 默认时自动支持HTTPS
- ZeroSSL 和 Let's Encrypt实现公共名
- CA包括完整的内部名和ip信息
- 可以与集群中的其他Caddy配合
- 当服务因为TLS/OCSP/其他证书,出问题时,依然能正常运行
- 能支持万亿级别的请求和管理百万级别TLS证书请求
- 能支持十万级站点的扩展部署
- 默认支持HTTP/1.1, HTTP/2, HTTP/3
- 可以轻松使用Caddyfile进行配置
- 使用json文件实现强大的配置能力
- 可以使用JSON API接口进行动态配置
- 环境运行,没有外部依赖
- 用go语言编写,拥有广告的内存安全

学习caddy
官方帮助文档: https://caddyserver.com/docs/
注意: 现在已经发布了caddy2,与1版本不兼容,学习时,可以直接学习caddy2。
caddy安装
# centos7
yum install yum-plugin-copr -y
yum copr enable @caddy/caddy -y
yum install caddy -y
其他系统中安装caddy,请参阅: Install — Caddy Documentation
获取帮助: caddy 不带任何参数,就会自动打开帮助信息
[root@centos7 ~]# caddy
Caddy is an extensible server platform.

usage:
  caddy <command> [<args...>]

commands:
  adapt           Adapts a configuration to Caddy's native JSON
  add-package     Adds Caddy packages (EXPERIMENTAL)
  build-info      Prints information about this build
  environ         Prints the environment
  file-server     Spins up a production-ready file server
  fmt             Formats a Caddyfile
  hash-password   Hashes a password and writes base64
  help            Shows help for a Caddy subcommand
  list-modules    Lists the installed Caddy modules
  reload          Changes the config of the running Caddy instance
  remove-package  Removes Caddy packages (EXPERIMENTAL)
  reverse-proxy   A quick and production-ready reverse proxy
  run             Starts the Caddy process and blocks indefinitely
  start           Starts the Caddy process in the background and then returns
  stop            Gracefully stops a started Caddy process
  trust           Installs a CA certificate into local trust stores
  untrust         Untrusts a locally-trusted CA certificate
  upgrade         Upgrade Caddy (EXPERIMENTAL)
  validate        Tests whether a configuration file is valid
  version         Prints the version

Use 'caddy help <command>' for more information about a command.

Full documentation is available at:
https://caddyserver.com/docs/command-line
启动caddy
caddy run启动一个非守护的caddy进程,按ctrl+c停止;
[root@centos7 ~]# caddy run --help
Usage of run:
  -adapter string
        Name of config adapter to apply 指定适配的配置文件
  -config string
        Configuration file  指定config文件
  -envfile string
        Environment file to load  指定家族的环境变量
  -environ
        Print environment  打印环境变量
  -pidfile string
        Path of file to which to write process ID 存放PID的文件
  -pingback string
        Echo confirmation bytes to this address on success 成功时的回显地址
  -resume
        Use saved config, if any (and prefer over --config file)保存配置,使--config的参数无效
  -watch
        Watch config file for changes and reload it automatically发现配置变更时,自动重新加载
如:caddy run -config /path/caddy.json -watch 这个命令,就是在启动时,加载了一个config文件,使用了watch,那么,在之后过程中,一旦这个配置文件被修改,caddy进程会自动加载,变更信息。
caddy start启动caddy为守护进程,caddy stop停止。
[root@centos7 ~]# caddy start --help
Usage of start:
  -adapter string
        Name of config adapter to apply
  -config string
        Configuration file
  -envfile string
        Environment file to load
  -pidfile string
        Path of file to which to write process ID
  -watch
        Reload changed config file automatically
它的可选参数,与 run 基本一样。
启动好之后,可以在启动的机器上,执行 curl localhost:2019/config/ 进行访问。此时,可能还没有配置文件,访问会失败,可以自己写一个caddy.json配置文件,然后,指定这个配置文件启动。
配置文件
caddy的配置文件,可以使json格式,也可以使 Caddyfile。
新建一个caddy.json文件
{
	"apps": {
		"http": {
			"servers": {
				"example": {
					"listen": [":2015"],
					"routes": [
						{
							"handle": [{
								"handler": "static_response",
								"body": "Hello, Allen!"
							}]
						}
					]
				}
			}
		}
	}
}
如果之前已经用 caddy run 启动了caddy,则可以在机器上执行如下命令,使配置生效,
curl localhost:2019/load -H "Content-Type: application/json" -d @caddy.json
也可以使用 caddy run -config 配置文件路径 指定配置文件。
然后,使用浏览器范围:"机器ip:2015" ; 或者使用命令 curl localhost:2015, 就可以看到配置文件中的文本“Hell,Allen!”
如果使用 caddy start 运行,可以使用 caddy reload 重新加载配置文件
JSON配置文件模板
{
	"admin": {
		"disabled": false,
		"listen": "",    // 绑定的端口,默认2019
		"enforce_origin": false,
		"origins": [""],
		"config": {
			"persist": false,
			"load": {•••}
		},
		"identity": {
			"identifiers": [""],
			"issuers": [{•••}]
		},
		"remote": {
			"listen": "",
			"access_control": [{
				"public_keys": [""],
				"permissions": [{
					"paths": [""],
					"methods": [""]
				}]
			}]
		}
	},
	"logging": {
		"sink": {
			"writer": {•••}
		},
		"logs": {
			"": {
				"writer": {•••},
				"encoder": {•••},
				"level": "",
				"sampling": {
					"interval": 0,
					"first": 0,
					"thereafter": 0
				},
				"include": [""],
				"exclude": [""]
			}
		}
	},
	"storage": {•••},
	"apps": {•••}
}
Caddyfile配置文件模板
localhost:80 {
    respond "xxxxx"
}
www.domain.com:2016 {
    respond "xxxxx"
}
好了,我们需要学习的东西很多,一篇文章是不可能把所有的都讲清楚的,还是需要自己研究与实践,有一天,你在公司听到别人说“caddy”, 有人拿个“xxx.json”的配置文件给你,你要说“我知道!我了解!”
最后,再来几个案例吧。
# 快速启动一个文件服务
caddy file-server

# 使用一个https服务访问文件服务
caddy file-server --domain www.examp.com

# 设置代理
caddy reverse-proxy --from examp.com  --to localhost:9010

# 配置Caddyfile文件
reverse_proxy 10.0.0.1:9010 10.0.0.2:9010 10.0.0.3:9010 {
	lb_policy	random_choose 2
	health_path	/ok
	health_interval	10s
}
欢迎来到testingpai.com!
注册 关于